How to upgrade the micronucleus bootloader on the Digispark
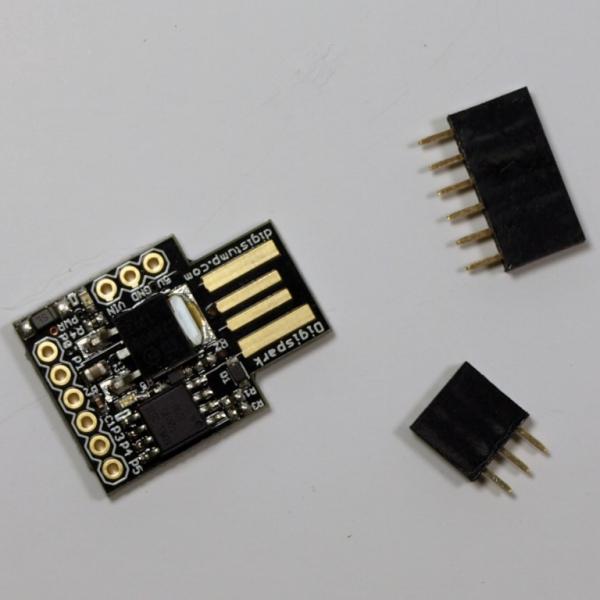
Recently I have been playing with the Digispark development board with the ATtiny85 AVR microcontroller. The cool thing is that it's only 2 by 2 cm big and it plugs right into a USB port.
But when I flashed the canonical blink example to the microcontroller, I noticed that the program didn't blink continuously with the fixed interval I had set up. The first five seconds after plugging in the Digispark the LED blinked in a fast heartbeat pattern (which seems to be normal, this is the bootloader staying in the programming mode for five seconds), then my program slowly blinked for a few seconds, then it was five seconds in heartbeat pattern again, then slower blinks again, and so on. It seemed the microcontroller got stuck in a continuous boot loop.
Thinking about the previous time I solved a microcontroller problem by upgrading the bootloader, I decided to try the same approach here. The Digispark is sold with the Micronucleus bootloader, but the boards I bought [1] apparently had an older version. Upgrading the bootloader is easy on Ubuntu.
First build the micronucleus command-line tool:
git clone https://github.com/micronucleus/micronucleus.git
cd micronucleus/commandline
sudo apt install libusb-dev
make
sudo make install
The Micronucleus project offers firmware files to upgrade older versions, so then upgrading the existing firmware was as easy as:
Then insert the Digispark to write the firmware.
After flashing the blink example, I didn't see the boot loop this time. And the Micronucleus developers apparently got rid of the annoying heartbeat pattern in the newer version.